https页面播放海康ws视频流nginx代理wss
https页面播放海康ws视频流nginx代理wss
背景:海康已经在本地搭建了安防管理平台,开放了能力网关,且分配了合作方AK/SK,需要在这个基础上在 web 大屏页面播放摄像头监控画面。
如果需要全流程参考第一部分、第二部分,如果只是需要 nginx 代理,直接查看第三部分即可。
后端获取视频流访问地址
海康提供了SDK,可以登陆 https://open.hikvision.com/download/ 下载,OpenAPI安全认证库(Java)”,获取 artemis-http-client.jar,导入到Java工程中。
这里使用 Maven 工具搭建 Springboot 框架项目
我这里下载到的是 artemis-http-client-1.1.15.RELEASE.jar 版本,将 artemis-http-client-1.1.15.RELEASE.jar 文件放到 resources/lib 目录下,Maven写如下依赖:
<dependency>
	<groupId>com.hikvision.ga</groupId>
	<artifactId>artemis-http-client</artifactId>
	<version>1.1.5</version>
	<scope>system</scope>
	<systemPath>${project.basedir}/src/main/resources/lib/artemis-http-client-1.1.15.RELEASE.jar</systemPath>
</dependency>
编写接口
package com.screen.controller;

import com.alibaba.fastjson.JSONObject;
import com.hikvision.artemis.sdk.ArtemisHttpUtil;
import com.hikvision.artemis.sdk.config.ArtemisConfig;
import com.ibi.common.result.R;
import com.ibi.common.utils.StringUtils;
import io.swagger.v3.oas.annotations.Operation;
import lombok.RequiredArgsConstructor;
import org.springframework.beans.factory.annotation.Value;
import org.springframework.cloud.context.config.annotation.RefreshScope;
import org.springframework.web.bind.annotation.GetMapping;
import org.springframework.web.bind.annotation.RequestMapping;
import org.springframework.web.bind.annotation.RestController;

import java.util.HashMap;
import java.util.Map;

/**
 * @author Wang WenLei
 * @date 2025/9/29 15:30
 * @since 1.0
 */
@RequiredArgsConstructor
@RestController
@RequestMapping("/daping")
@RefreshScope
public class FujuDeviceController {

    @Value("${webDomain:}")
    private String webDomain;


    @Operation(summary ="分页查询大屏组件列表")
    @GetMapping("/getDeviceWs")
    public R<String> queryPageList(String cameraIndexCode) {
        String result = getCameraPreviewURL(cameraIndexCode);
        if (StringUtils.isNotBlank(result)) {
            JSONObject jsonObject = JSONObject.parseObject(result);
            Map data = jsonObject.getObject("data", Map.class);
            if (data != null && data.containsKey("url")) {
                String url = (String)data.get("url");
                // 如果要wss,需要配置成wss的格式,参考下面第三部分讲述
                return R.ok(url.replace("ws://XXXX.XXXX.XXXX.XXXX:559", webDomain));
            }
        }
        return R.ok();
    }
    public String getCameraPreviewURL(String cameraIndexCode) {
        ArtemisConfig config = new ArtemisConfig();
        // artemis网关服务器ip端口
        config.setHost("XXXX.XXXX.XXXX.XXXX:1443");
        // 秘钥appkey
        config.setAppKey("22XXXX95");
        // 秘钥appSecret
        config.setAppSecret("nXXXXXuXXoMRXXXXXJD");


        // STEP2:设置OpenAPI接口的上下文
        final String ARTEMIS_PATH = "/artemis";

        // STEP3:设置接口的URI地址
        final String previewURLsApi = ARTEMIS_PATH + "/api/video/v1/cameras/previewURLs";
        Map<String, String> path = new HashMap<String, String>(2) {
            {
                put("https://", previewURLsApi);//根据现场环境部署确认是http还是https
            }
        };

        // 设置参数提交方式
        String contentType = "application/json";

        // STEP5:组装请求参数
        JSONObject jsonBody = new JSONObject();
        jsonBody.put("cameraIndexCode", cameraIndexCode);
        jsonBody.put("streamType", 0);
        jsonBody.put("protocol", "ws");
        jsonBody.put("transmode", 1);
        jsonBody.put("expand", "streamform=ps");
        String body = jsonBody.toJSONString();

        //  STEP6:调用接口 post请求application/json类型参数
        String result = null;
        try {
            result = ArtemisHttpUtil.doPostStringArtemis(config, path, body, null, null, contentType, null);
        } catch (Exception e) {
            throw new RuntimeException(e);
        }
        return result;
    }

	// 获取设备ID,这个接口返回的
    private static String getDeviceList() {
        ArtemisConfig config = new ArtemisConfig();
        // artemis网关服务器ip端口
        config.setHost("XXXX.XXXX.XXXX.XXXX:1443");
        // 秘钥appkey
        config.setAppKey("22XXXX95");
        // 秘钥appSecret
        config.setAppSecret("nXXXXXuXXoMRXXXXXJD");


        // STEP2:设置OpenAPI接口的上下文
        final String ARTEMIS_PATH = "/artemis";

        // STEP3:设置接口的URI地址
        final String previewURLsApi = ARTEMIS_PATH + "/api/irds/v2/deviceResource/resources";
        Map<String, String> path = new HashMap<String, String>(2) {
            {
                put("https://", previewURLsApi);//根据现场环境部署确认是http还是https
            }
        };

        // 设置参数提交方式
        String contentType = "application/json";

        // STEP5:组装请求参数
        JSONObject jsonBody = new JSONObject();
        jsonBody.put("pageNo", 1);
        jsonBody.put("pageSize", 10);
        jsonBody.put("resourceType", "camera");
        String body = jsonBody.toJSONString();

        //  STEP6:调用接口 post请求application/json类型参数
        String result = null;
        try {
            result = ArtemisHttpUtil.doPostStringArtemis(config, path, body, null, null, contentType, null);
        } catch (Exception e) {
            throw new RuntimeException(e);
        }
        return result;
    }

}
getDeviceList 方法结果的 data -> list -> indexCode 作为 getCameraPreviewURL 接口 cameraIndexCode 参数获取视频流。
前端通过 websocket 视频流播放海康视频
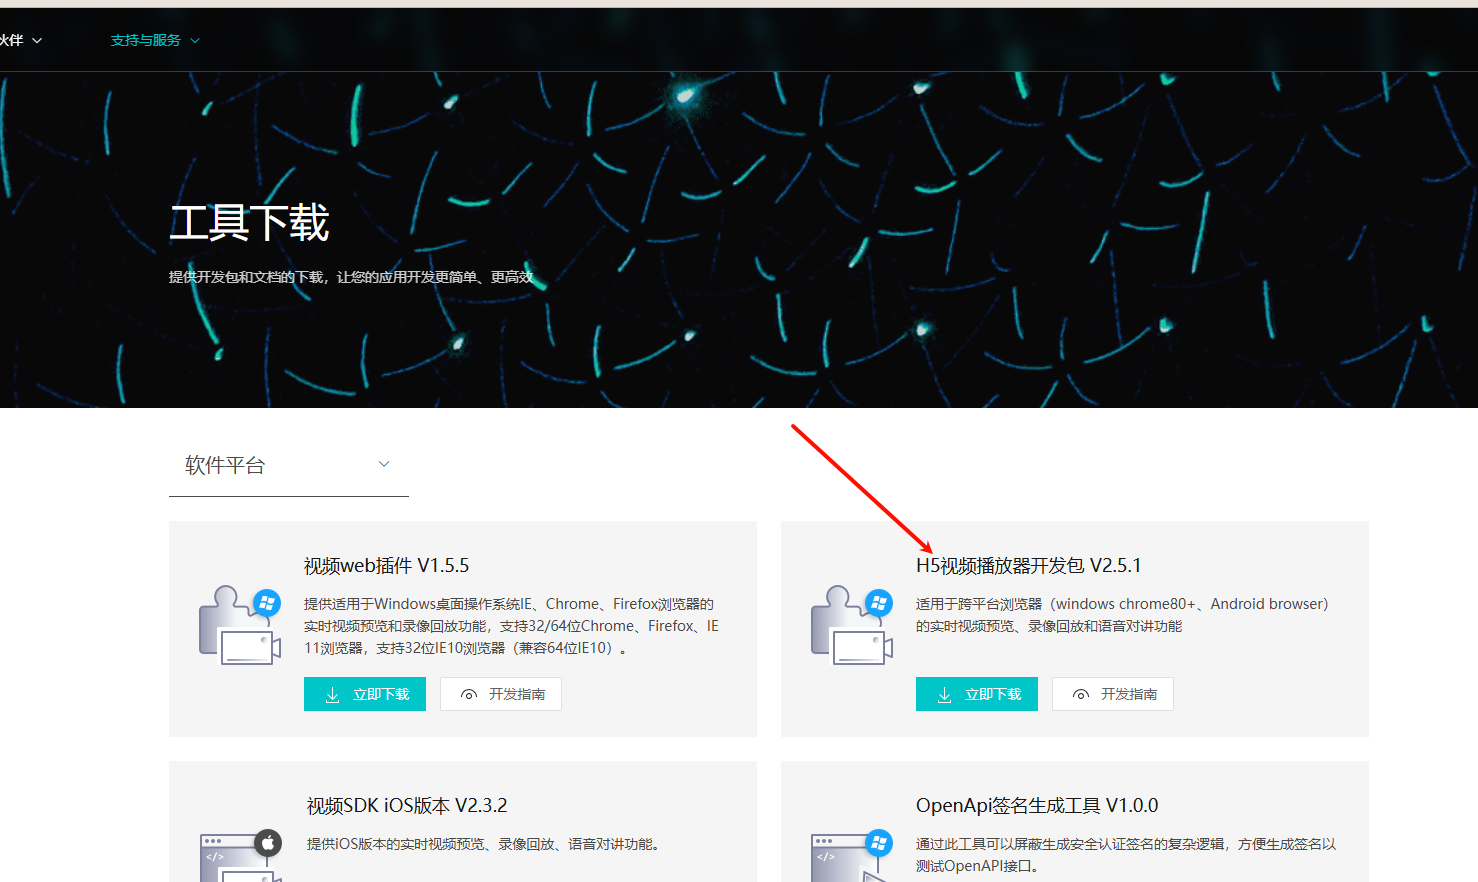
海康官网提供 H5 视频播放器开发包 下载地址,官网提供静态版本,这里是 Vue 搭建的前端项目。

我的代码
首先,将开发包下,libs 下所有文件放到项目 public 文件夹里,在 index.html 里引入 <script src="/h5player.min.js"></script>
然后打开,播放的vue页面,this.urls.realplay 就是接口返回的地址
<template>
  <div class="dashboard-container">
    <div id="player"></div>
    <el-button @click="realplay">预览</el-button>
  </div>
</template>

<script>

const IS_MOVE_DEVICE = false // 是否移动设备
const MSE_IS_SUPPORT = false // 是否支持mse

export default {
  name: 'Dashboard',
  data() {
    return {
      isMoveDevice: IS_MOVE_DEVICE,
      player: null,
      splitNum: IS_MOVE_DEVICE ? 1 : 2,
      mseSupport: MSE_IS_SUPPORT,
      tabActive: MSE_IS_SUPPORT ? 'mse' : 'decoder',
      labelCol: { span: 5 },
      wrapperCol: { span: 18 },
      urls: {
        realplay: 'ws://IP地址:559/openUrl/vsigdyJltq123677277d651231d98722',
      },
      muted: true,
      volume: 50,
    }
  },
  computed: {
    mode: function() {
      return this.tabActive === 'mse' ? 0 : 1
    }
  },
  methods: {
    init() {
      // 设置播放容器的宽高并监听窗口大小变化
      window.addEventListener('resize', () => {
        this.player.JS_Resize()
      })

    },
    createPlayer() {
      this.player = new window.JSPlugin({
        szId: 'player',
        szBasePath: "./",
        iMaxSplit: 1,
        iCurrentSplit: IS_MOVE_DEVICE ? 1 : 2,
        openDebug: true,
        oStyle: {
          borderSelect: IS_MOVE_DEVICE ? '#000' : '#FFCC00',
        }
      })
    },
    arrangeWindow() {
      let splitNum = this.splitNum
      this.player.JS_ArrangeWindow(splitNum).then(
          () => { console.log(`arrangeWindow to ${splitNum}x${splitNum} success`) },
          e => { console.error(e) }
      )
    },
    wholeFullScreen() {
      this.player.JS_FullScreenDisplay(true).then(
          () => { console.log(`wholeFullScreen success`) },
          e => { console.error(e) }
      )
    },
    /* 预览&对讲 */
    realplay() {
      let  index = this.player.currentWindowIndex
      let  playURL = this.urls.realplay
      let mode = this.mode
      this.player.JS_Play(playURL, { playURL,  mode}, index).then(
          () => { console.log('realplay success') },
          e => { console.error(e) }
      )
    },
  },
  mounted() {
    this.$el.style.setProperty('display', 'block')
    this.init()
    this.createPlayer()
    this.realplay();
  }
}
</script>

<style lang="scss">
</style>
海康ws视频流nginx代理wss
发布上线后,说https不能访问ws
559 端口是海康安防系统提供的ws端口
6014 端口是海康安防系统提供的wss端口,但这个端口是自签署证书,自签署证书用不了,需要自己浏览器访问并信任一次后续才能使用
我们需要通过Nginx代理到 559 将 ws 转发
首先编写Nginx配置文件。我这里是阿里云发布的docker,会自动带证书,没有的话需要 nginx 自处理证书,但本身要接 https 肯定已经处理过,一般不用考虑。
  location ^~/media {
      proxy_pass http://$arg_proxy;
      proxy_http_version 1.1;
      proxy_set_header Upgrade $http_upgrade;
      proxy_set_header Connection "upgrade";
      proxy_set_header Host $http_host;
      proxy_set_header X-Real-IP $remote_addr;
      proxy_set_header X-Forwarded-For $proxy_add_x_forwarded_for;
      proxy_set_header X-Forwarded-Proto $scheme;
  }
如上配置就可以使用了,页面访问接口需要注意(就是第二部分的 this.urls.realplay 地址)
需要将 第一部分返回的地址缀替换成
wss://你的https域名:443/proxy/海康监控管理端IP:559

示例:
wss://daping.test.com:443/proxy/222.28.123.122:559说明:wss:// :你的https域名:有证书的域名,写地址时不用https直接域名,因为用wss请求:443:必须,注意 必须,海康js代码是通过 : 进行切分拼接后转给 /media的/proxy/:必须,海康js代码是通过 /proxy 切分后拼接的 IP 进行拼接proxy参数的海康监控管理端IP:559:需要确保nginx到海康监控管理端559端口通
java 代码中 url.replace("ws://XXXX.XXXX.XXXX.XXXX:559", webDomain) 作用就是这个。所以 webDomain 需要配置成:wss://daping.test.com:443/proxy/222.28.123.122:559
访问下齐活,OK~
#海康
参考文章:
海康 ws 与 wss 协议的区别 —— 有点用也没用就告诉本身支持一个wss但这个wss是自签署证书,自签署证书用不了,需要自己浏览器访问并信任一次后续才能使用